How to add text to a photo in your browser (no upload)
Add captions, titles, or watermarks to a photo without uploading it. A private, step-by-step workflow with Inkicity’s free browser editor.
Most “add text to photo” sites want you to upload the file first. Fine for a meme you don’t care about, less fine for a family photo, a client proof, or anything with faces you’d rather keep off someone else’s converter.
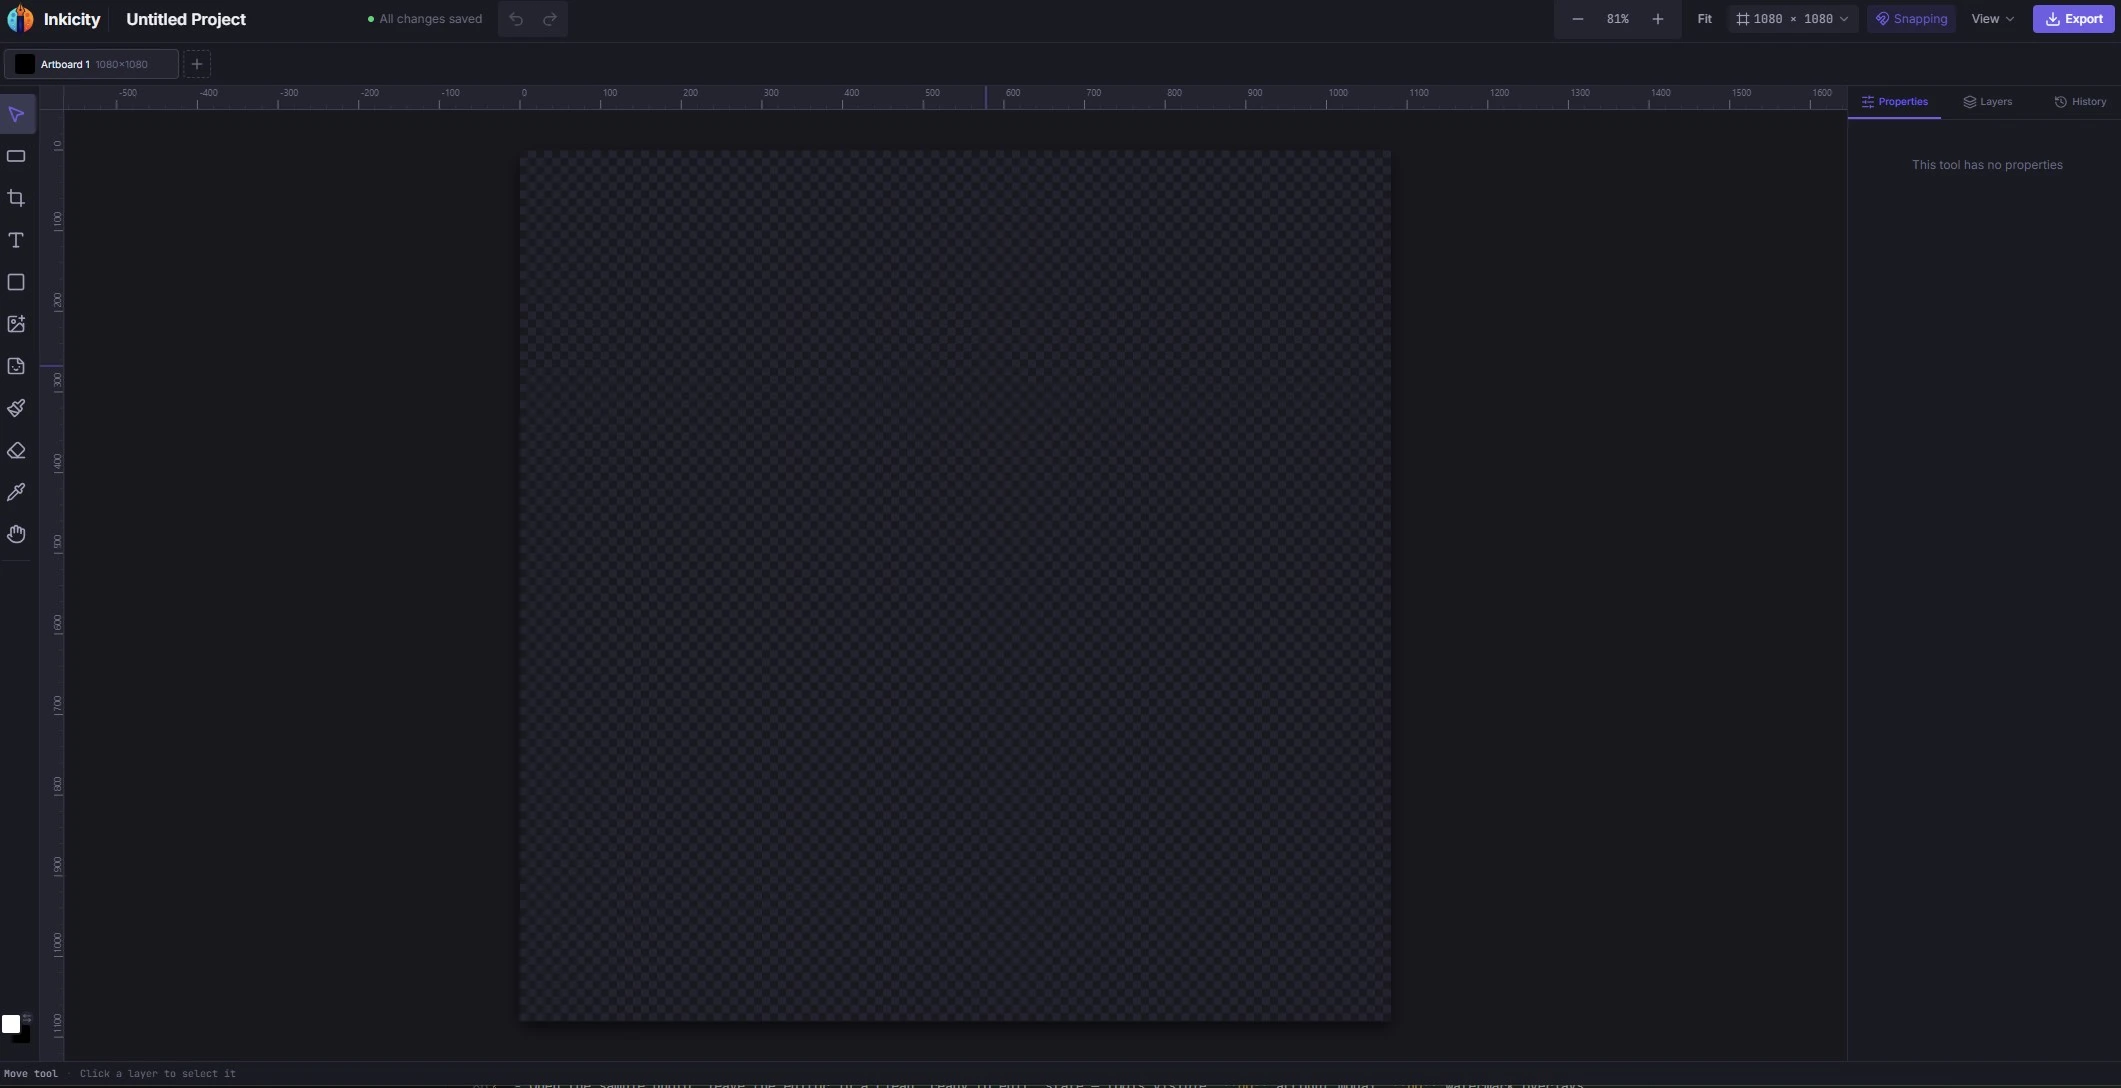
Inkicity does the whole thing in your browser: open a local file, type on the canvas, export. The pixels never make it to a server.
When browser text-on-photo is enough
Use this flow when you need:
- A caption or title on a still for social
- A simple watermark or credit line
- A meme-style line without installing desktop software
- A quick label on a screenshot or product shot
If you need full desktop typography (OpenType panels, paragraph styles across a book), reach for a layout app instead. For everyday overlays, a layered browser editor is usually faster.
Step-by-step: add text without uploading
- Open the editor. Start from the Add text to a photo page. No account required.
- Open your image. Choose a JPEG, PNG, or WebP from disk. Nothing gets uploaded.
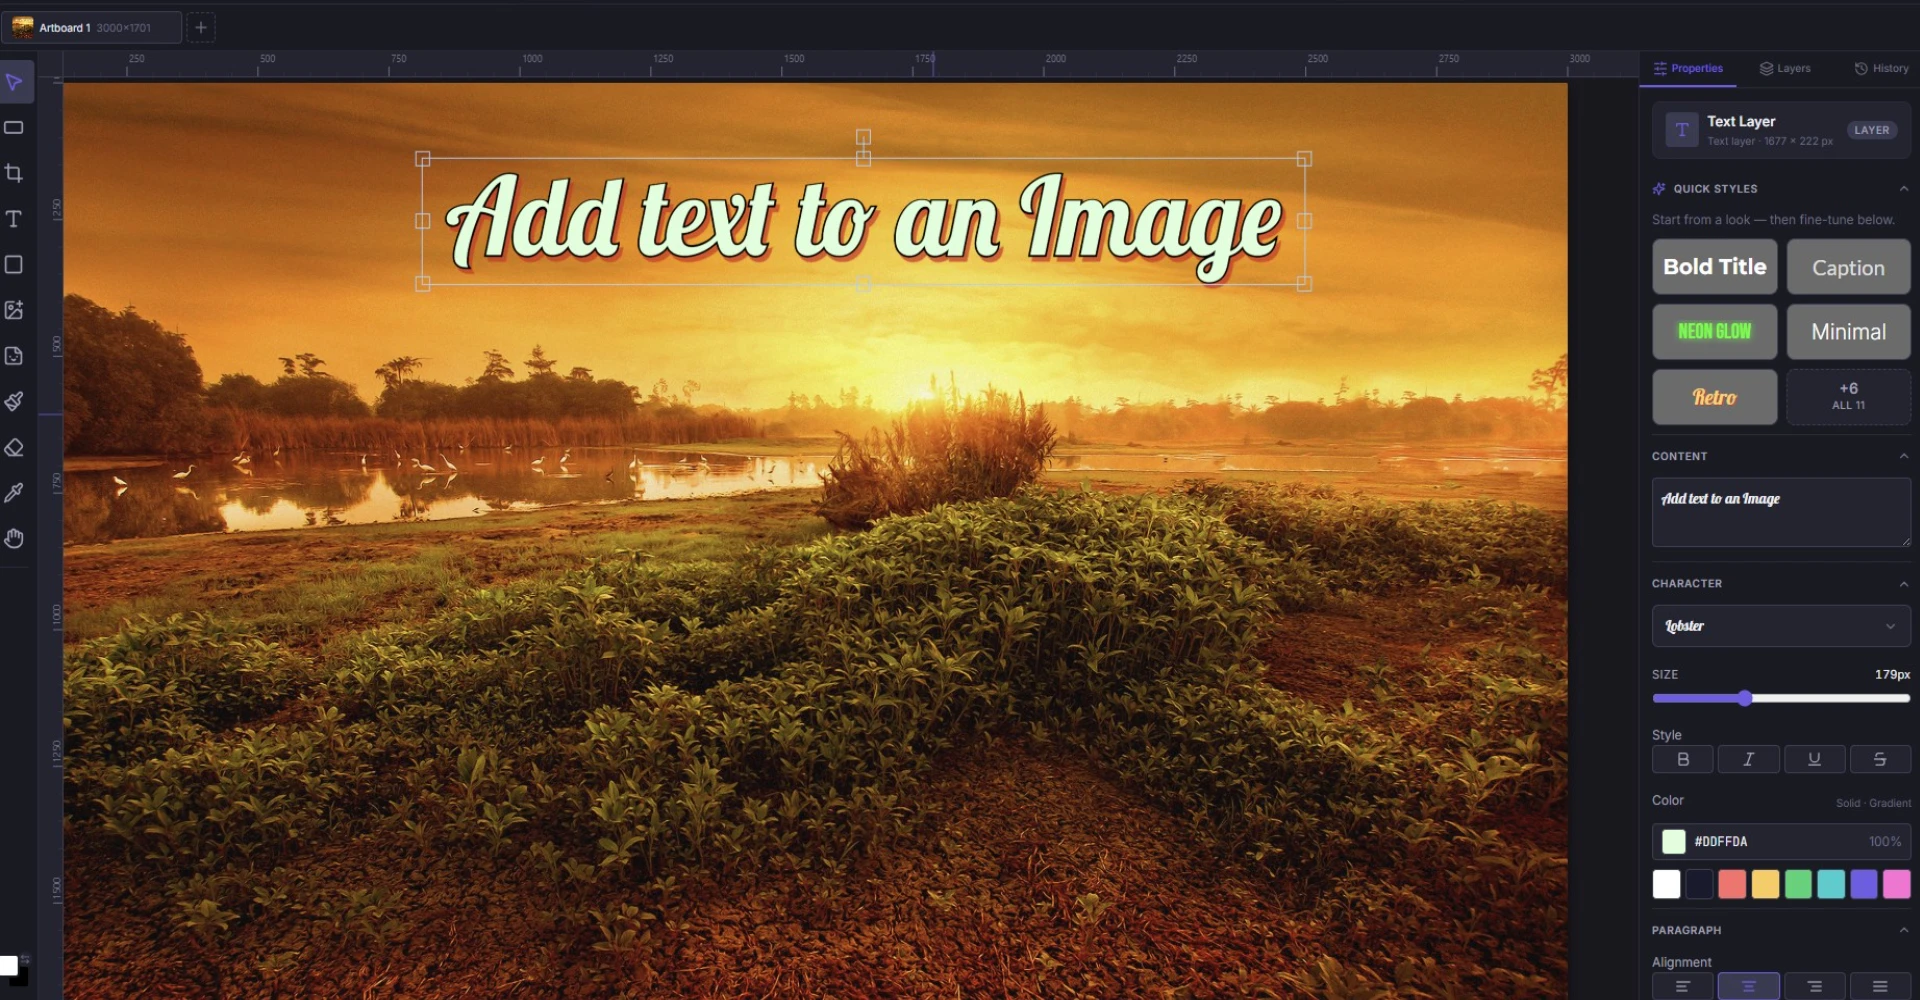
- Add text and place it. Pick the Text tool, add a text layer, drag it into position, and set size, color, and alignment.
- Stack if needed. Keep the photo on one layer and the type on another, so you can nudge the copy without redoing the crop.
- Export. Download PNG for sharp edges and transparency, JPEG for photos, or WebP for smaller web files.
Placement tips that read well on mobile
- Keep important words away from the outer 8–10% of the frame. Stories and feed UIs cover the edges.
- Prefer high contrast: light type on a dark area, or a soft shape behind the line if the background is busy.
- One short line beats a paragraph. If you need more copy, put it in the post caption instead of on the image.
- For watermarks, lower the opacity and park the mark in a corner so it doesn’t fight the subject.
Privacy note (why “no upload” matters)
Upload-based caption tools receive a full-resolution copy of your file, even if they promise to delete it afterward. Editing locally skips that round trip for the pixels. This site runs no trackers, and the editor only turns on privacy-respecting product analytics after you consent. Either way, your image data is never uploaded. See the Privacy Policy for the details.
Next edits
After the text looks right, you might want to crop the frame or apply a light filter before export. For format choice, read PNG vs JPEG vs WebP.
Ready to edit?
Jump into the browser editor. No account, no upload.