PNG vs JPEG vs WebP: when to export which
A practical guide to choosing PNG, JPEG, or WebP for photos, UI, and social, plus how to convert locally in the browser with Inkicity.
Export format isn’t a branding choice. It’s a trade-off between sharpness, file size, and features like transparency. Get it wrong and you end up with muddy photos, huge downloads, or a logo with a white box where the transparency should be.
This guide is the short decision tree. When you need to change formats without uploading to a random converter, use Inkicity’s PNG → WebP flow (or export JPEG / PNG from the same canvas).
Quick comparison
| Format | Best for | Watch out |
|---|---|---|
| JPEG | Photos, gradients, camera shots | Lossy; no alpha transparency |
| PNG | Logos, UI, screenshots, hard edges | Large for photos; great when lossless / alpha matters |
| WebP | Web delivery when size matters | Slightly uneven support in very old tools; usually fine in modern browsers |
Choose JPEG when…
- The image is a photograph or soft gradient
- You are uploading to Instagram, email, or a CMS that expects a classic photo file
- You care more about a small file than bit-perfect pixels
Use a sensible quality setting instead of maxing every export. Visually identical JPEGs are often much smaller than “100% quality.”
Choose PNG when…
- You need transparency (logos, stickers, overlays)
- The graphic has sharp text, icons, or UI chrome
- You are archiving a lossless master before making a smaller WebP or JPEG for the web
PNG is a poor default for full-bleed photos headed to a feed. You’ll ship megabytes you don’t need.
Choose WebP when…
- The asset will live on a website or in a performance-sensitive app
- You want smaller files than PNG for complex images, often with good quality
- Your pipeline (browser, CDN, or framework) already serves WebP
If a partner still requires JPEG or PNG, keep a master and export the legacy format for them.
A simple decision tree
- Need transparency or razor-sharp UI? → PNG (or WebP with alpha if your stack supports it).
- Mostly a photo for social or email? → JPEG.
- Shipping to the web and you control the page? → Prefer WebP, keep PNG/JPEG as fallbacks if required.
Convert locally (no upload)
- Open Convert PNG to WebP (or the main editor).
- Load the file from your device.
- Crop or resize if the asset is oversized for the job. See Instagram sizes for social dimensions.
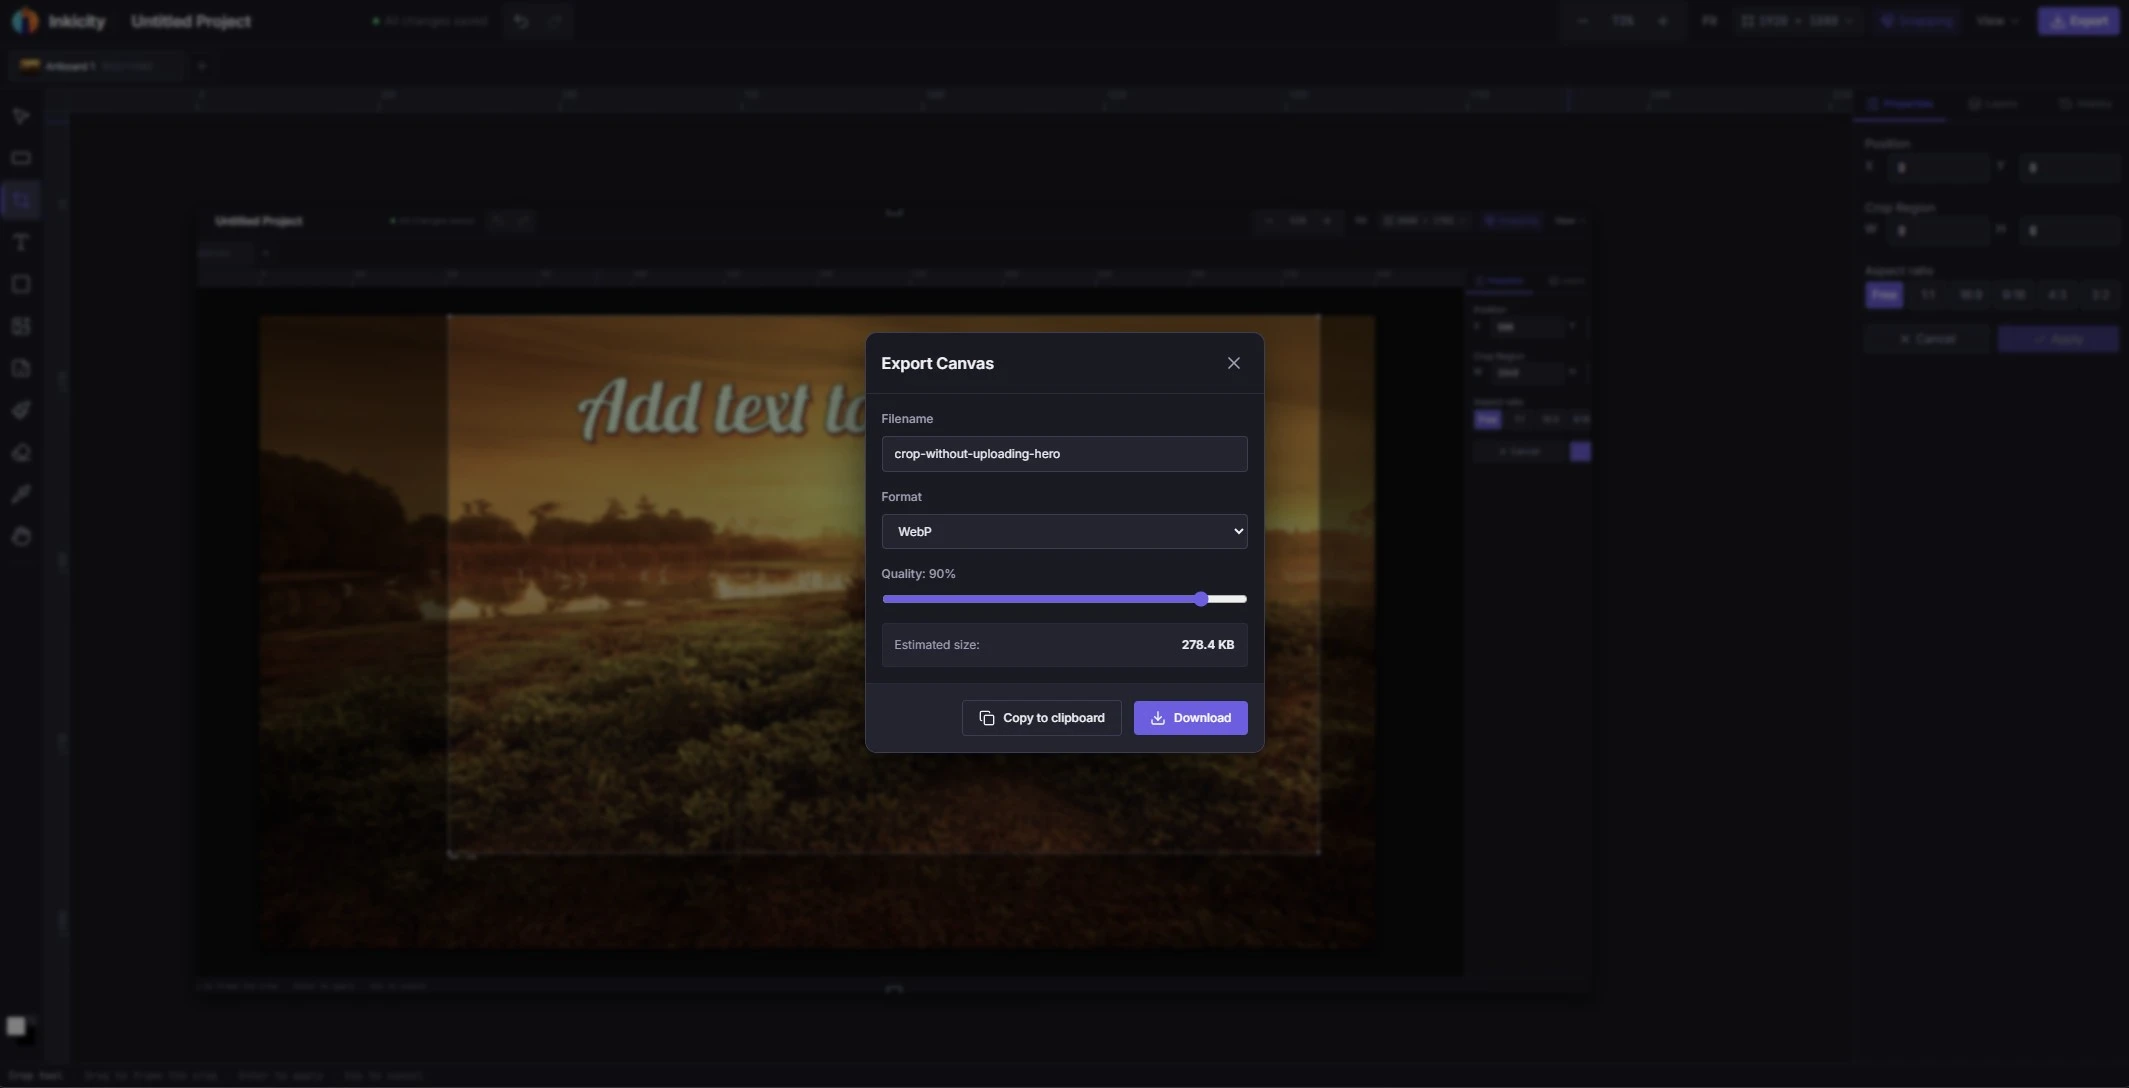
- Export WebP, JPEG, or PNG as needed.
Because conversion happens in the browser, product shots and brand kits do not have to visit a third-party upload form first.
Related reading
Ready to edit?
Jump into the browser editor. No account, no upload.